User Guides
Manage Students Groups
The Student List tab displays the student roster. The contents of this section vary depending on the student use mode.
For an individual lab, this section shows a list of students who have started and opened the lab. Each student has an Enter button that opens a snapshot page of that student’s workspace.
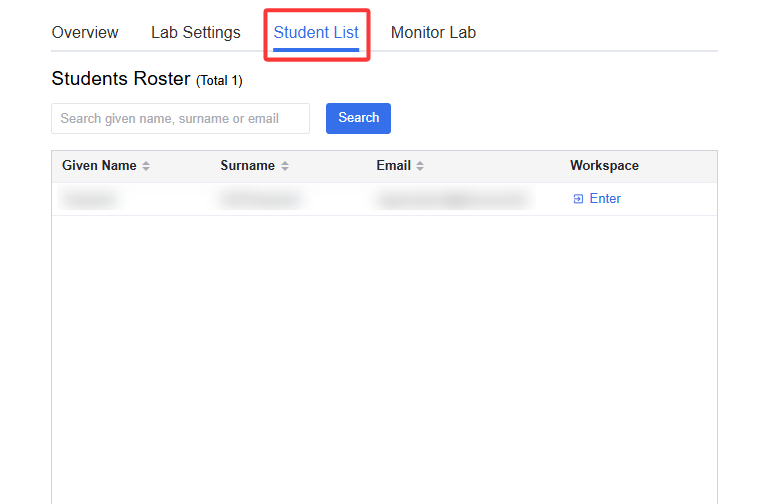
For a group lab, this section shows a list of groups. Each group has an Enter button that opens a snapshot page of that group’s workspace.
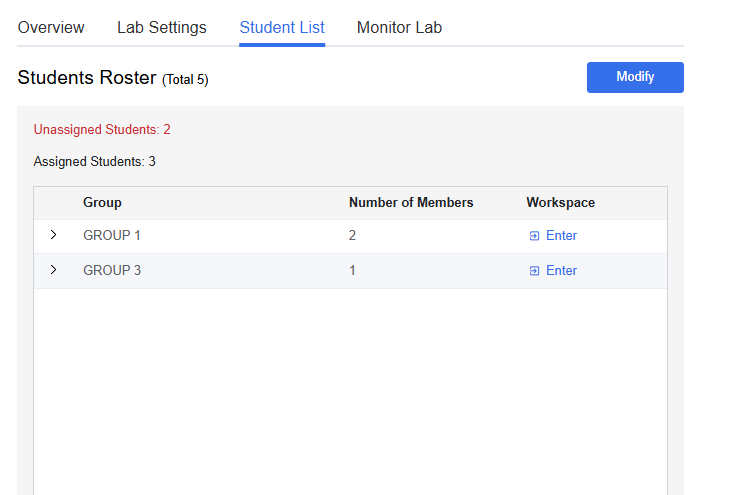
In a group lab mode, enrolled students need to be assigned into groups and students in the same team will share one workspace.
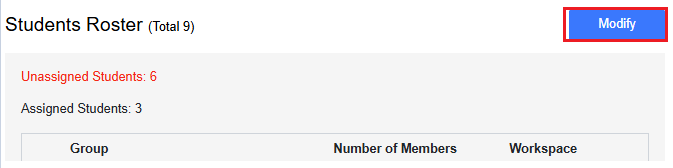
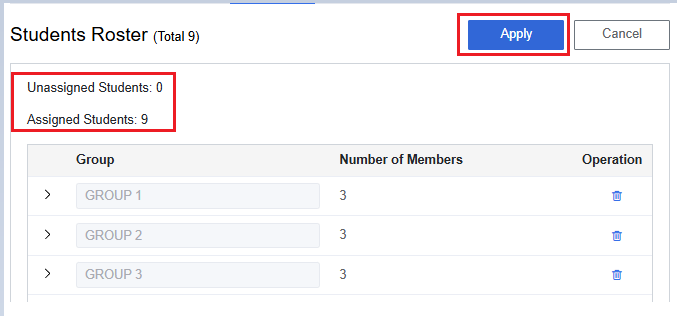
Student Roster shows a list of the assigned groups. The number of unassigned students will be colored red.
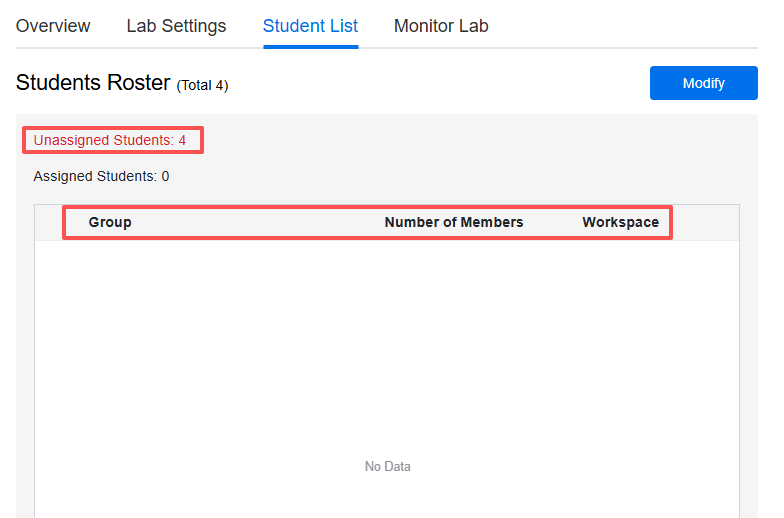

You can assign students to groups in two ways, manual assign and auto-assign randomly. To assign the groups for the students, click Modify.
Method 1: Manual Assign
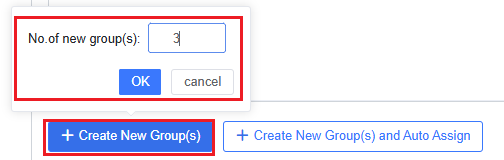
Click +Create New Group(s) at the bottom of the section
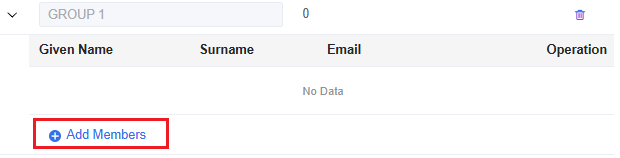
Unfold a group and click Add Members to show all unassigned students.
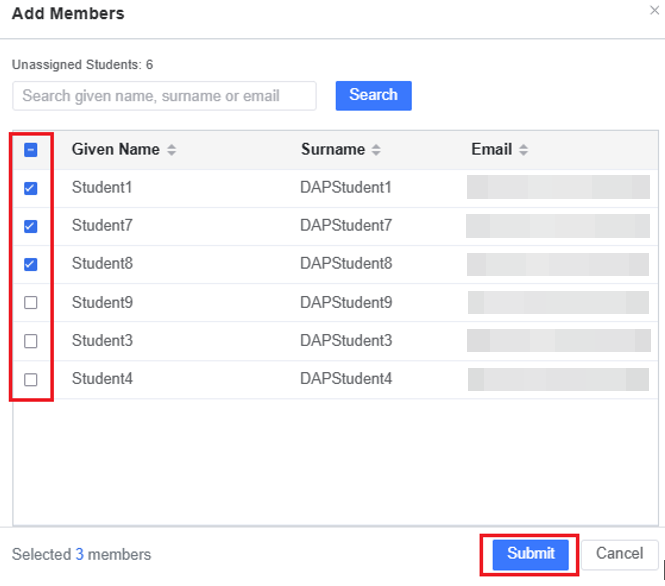
Search for or select the students whom you want to assign to the group and remember to Submit.
Once you have finished the grouping, remember to click Apply to save all changes.
Method 2: Auto-assign Random Groups
To assign groups automatically, click +Create New Group and Auto Assign and then specify the number of new groups you want to add.
(In the following example, we already have three groups, and we have used auto-assign to add another new group so that all the unassigned students are automatically assigned to the newly added group).
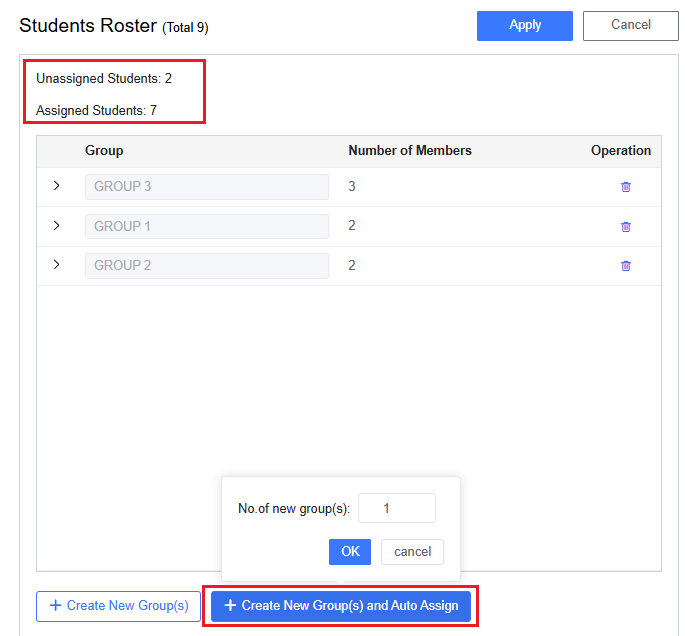
Once you have finished the grouping, remember to click Apply to save all changes,

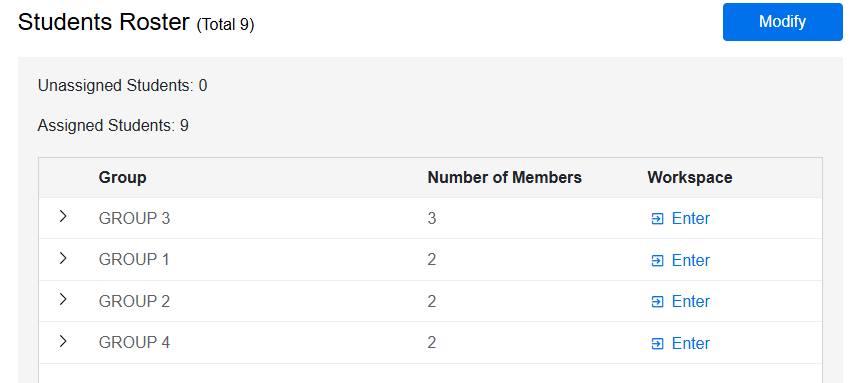
The student roster will show students in groups, with a portal of each shared workspace as follows: