User Guides
Set Up a Coursepack Lab
As a Coursepack collaborator, you can set up and manage the labs in a Coursepack. Students use these labs as their individual or group lab environments.
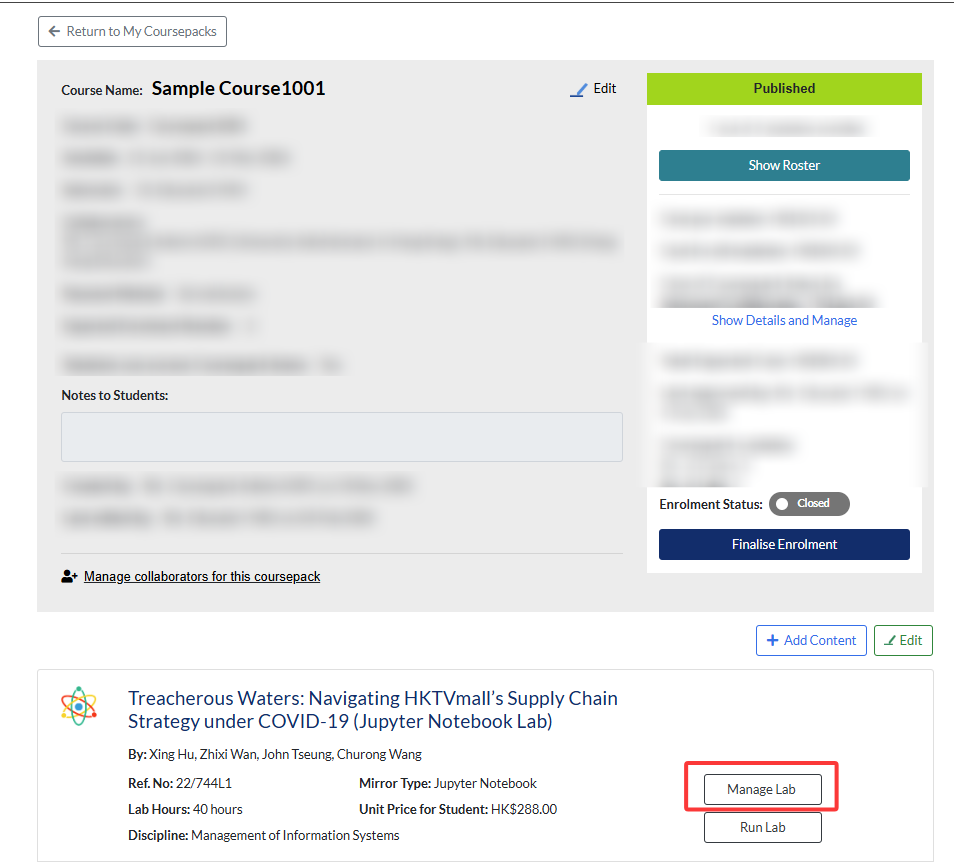
Open the Coursepack and click Manage Lab.
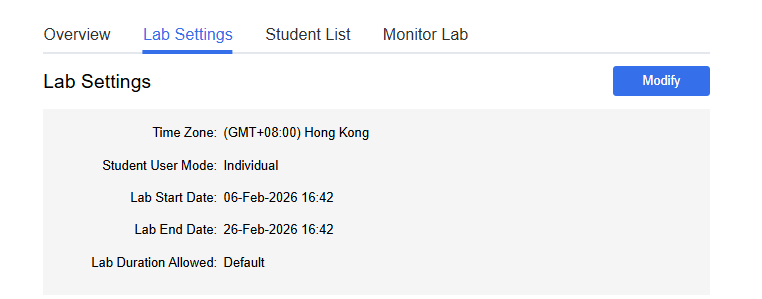
When you click Manage Lab from the coursepack page, you’ll land on the Lab Settings tab. This is where instructors and collaborators configure the lab environment before making it accessible to students. By default, the lab status a new lab will be “inactive”.
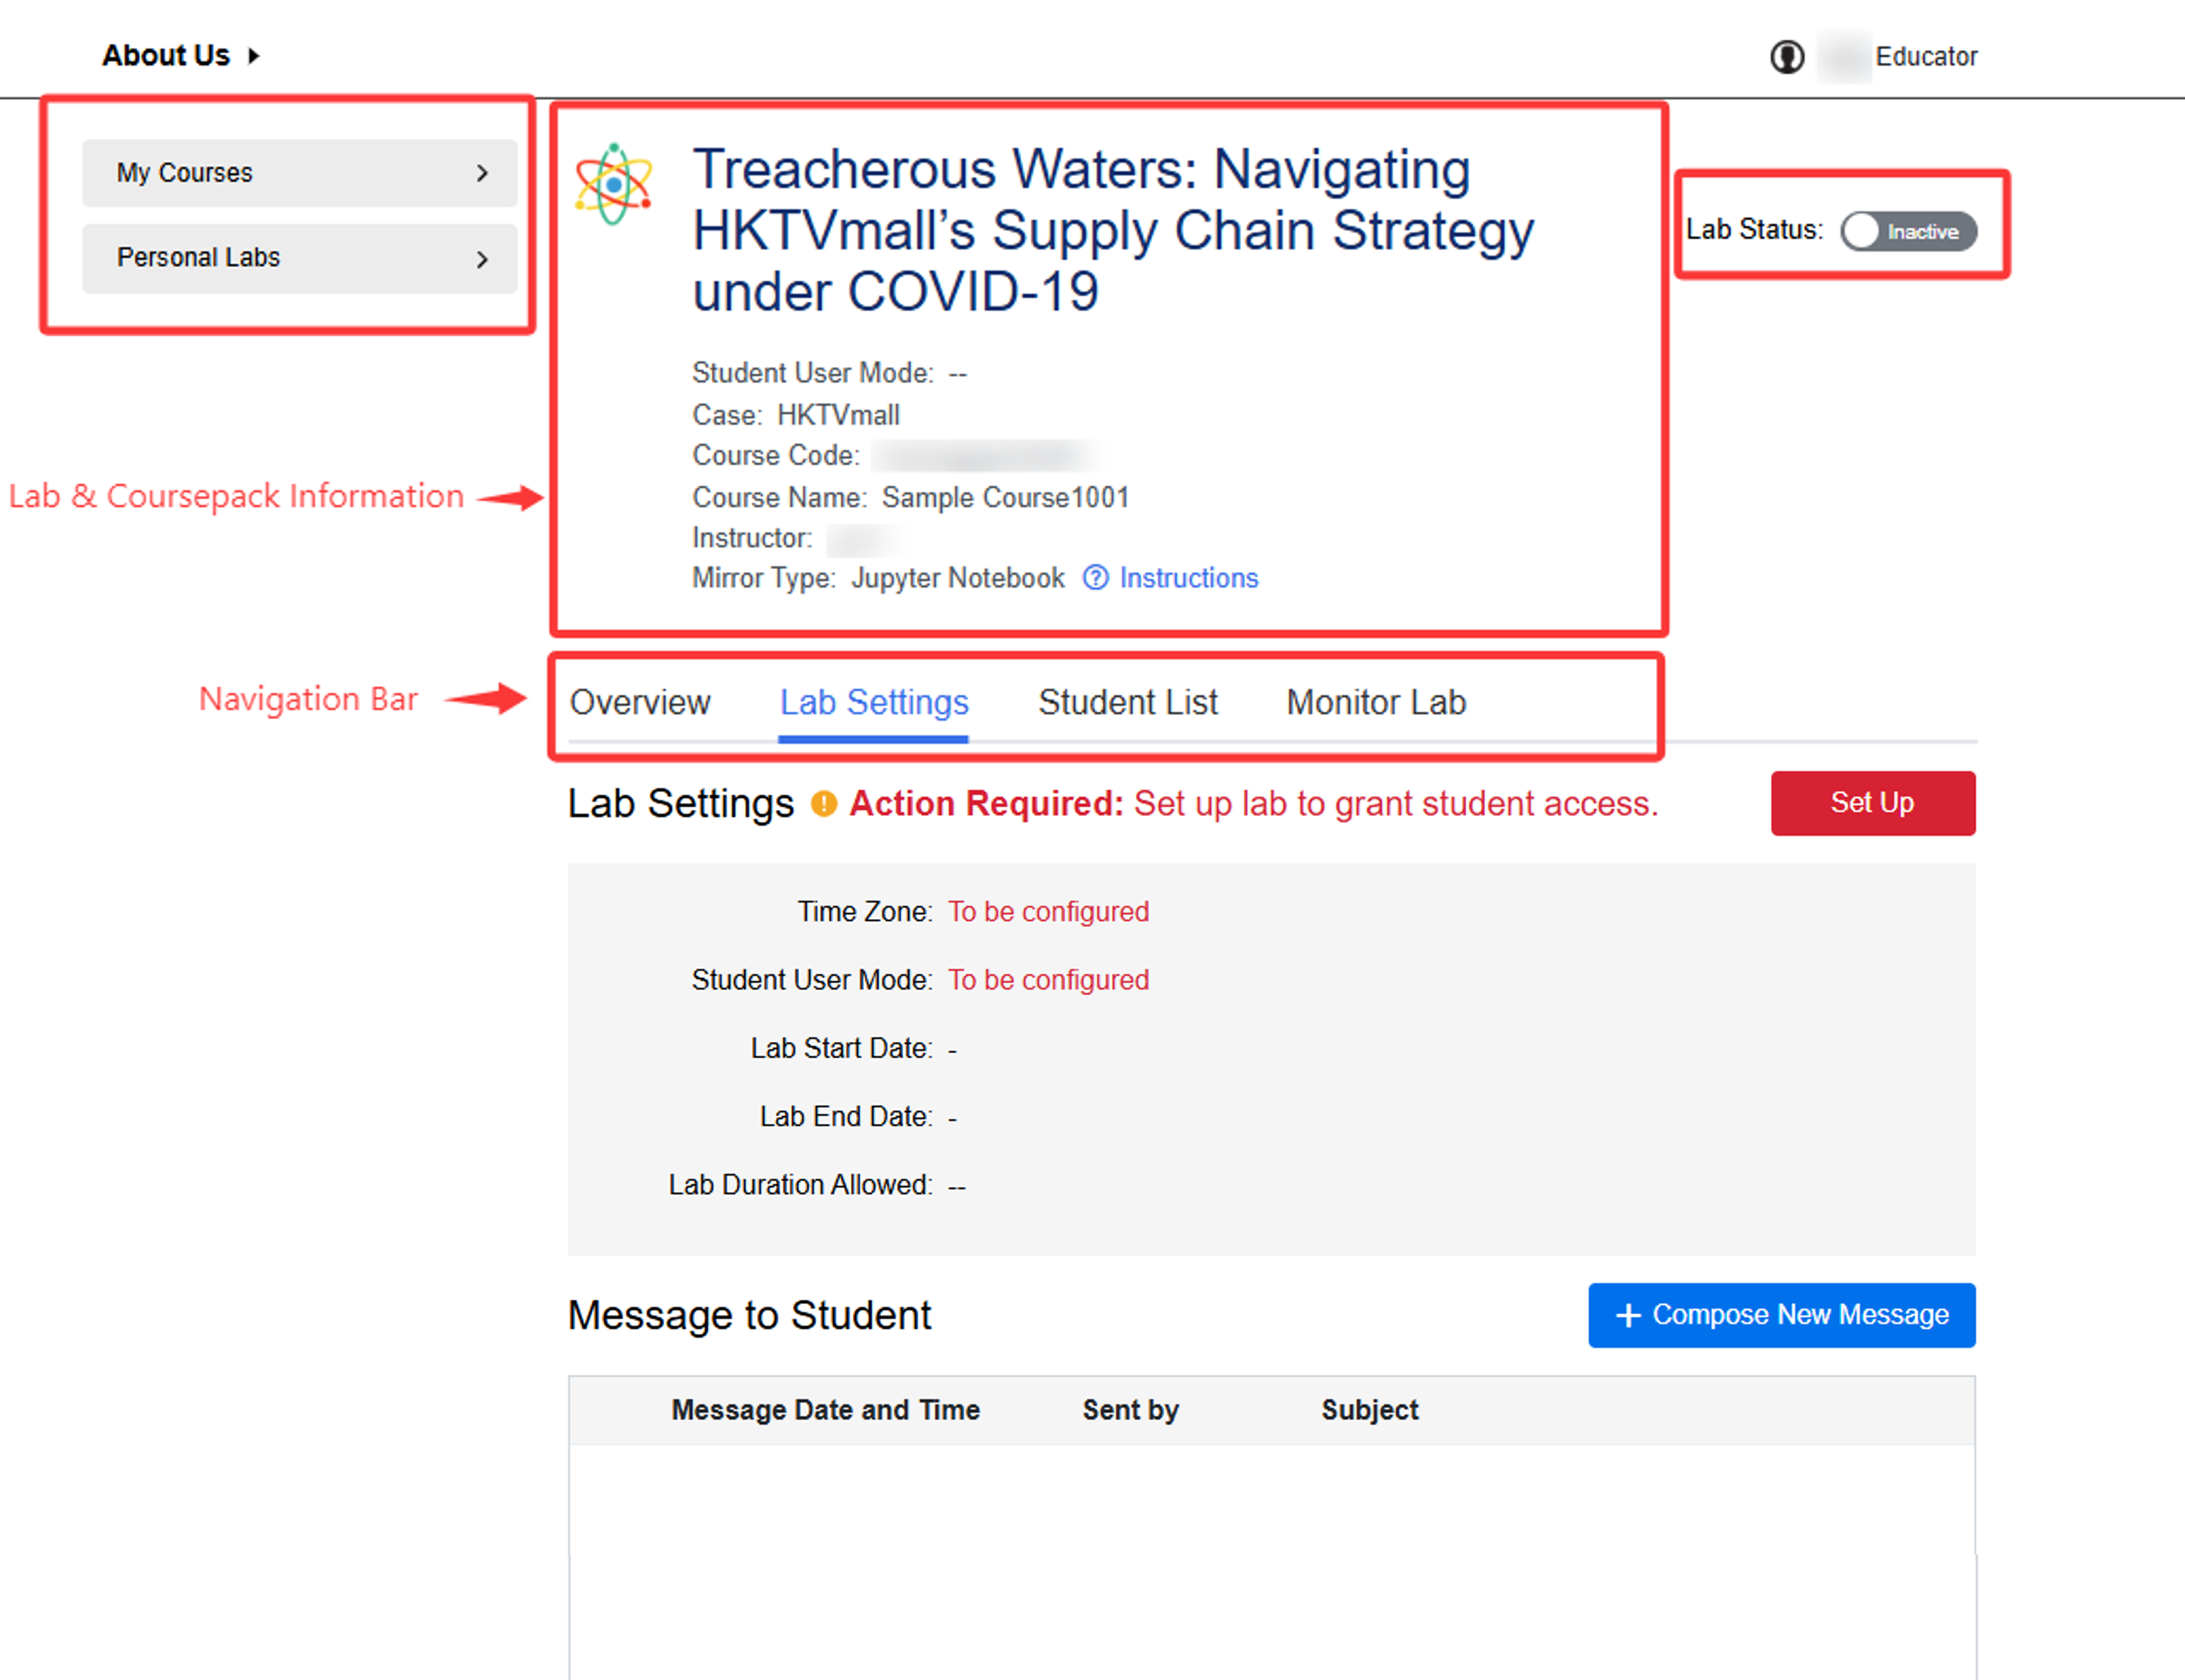
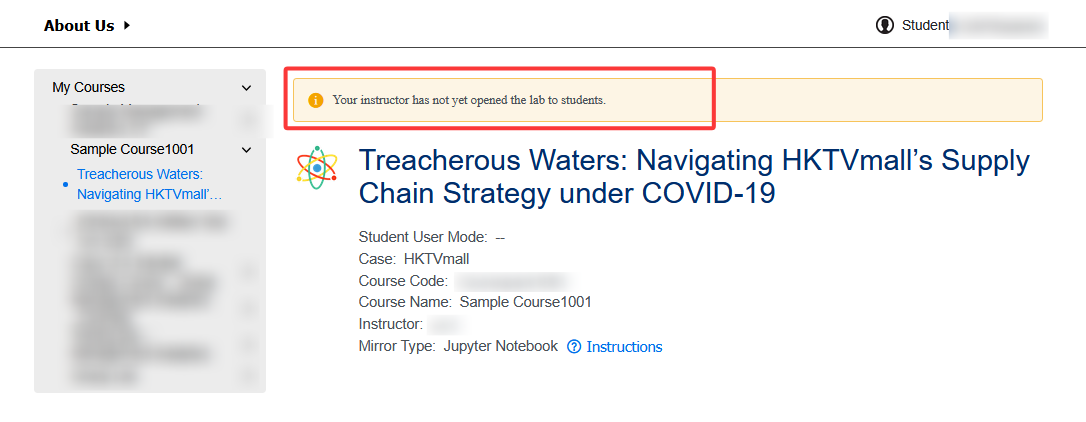
To set up the lab, click Modify, then set:
- Time zone: sets the time reference for all lab scheduling. Once selected, the time zone cannot be changed.
- Students’ lab use: once selected, the lab type cannot be changed. Choose between
- Group: students share a group lab workspace.
- Individual: each student works independently in their own lab workspace.
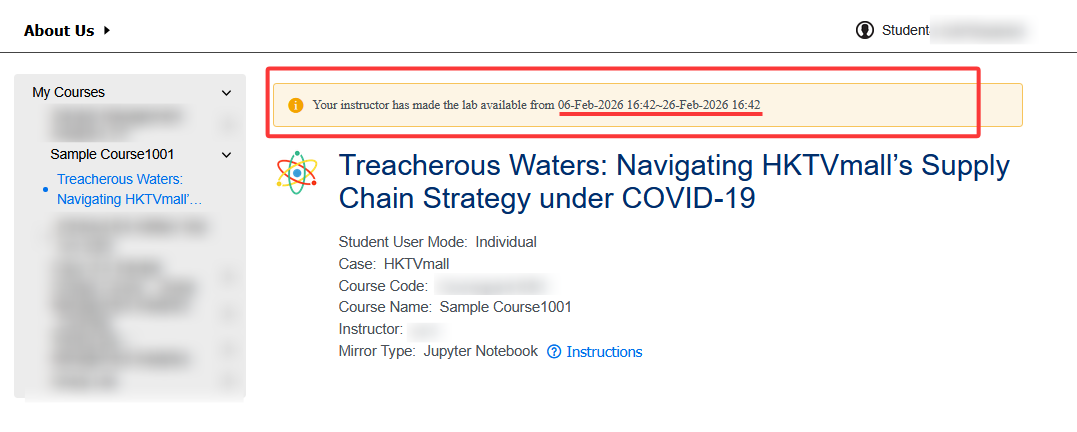
- Lab start date: the date and time when the lab becomes available to students.
- Lab end date: the date and time when the lab will no longer be accessible to students.
- Lab duration allowed: specifies how long students can use the lab. The default is the total purchased hours. For example, to allow a 2-hour session, set it as 2h0m.
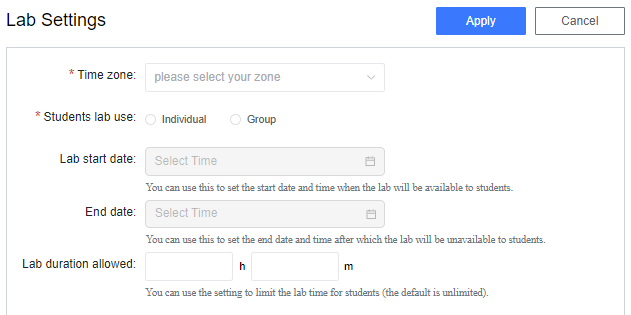
Once all settings are configured, click Apply to save your changes.
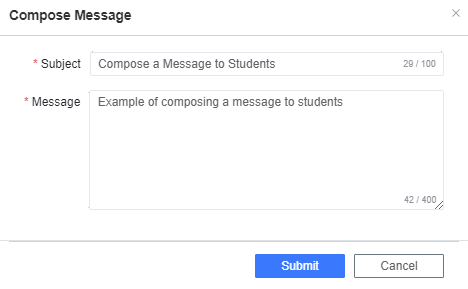
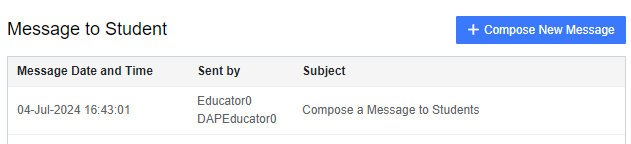
To compose messages to students, click Compose New Message and Submit once you finish writing the message.

Once your message is successfully created, it will be displayed in the “Message to Student” section.
Details of lab information and files can be found under Overview. Lab Materials section previews the instructional materials provided for educators in the lab.
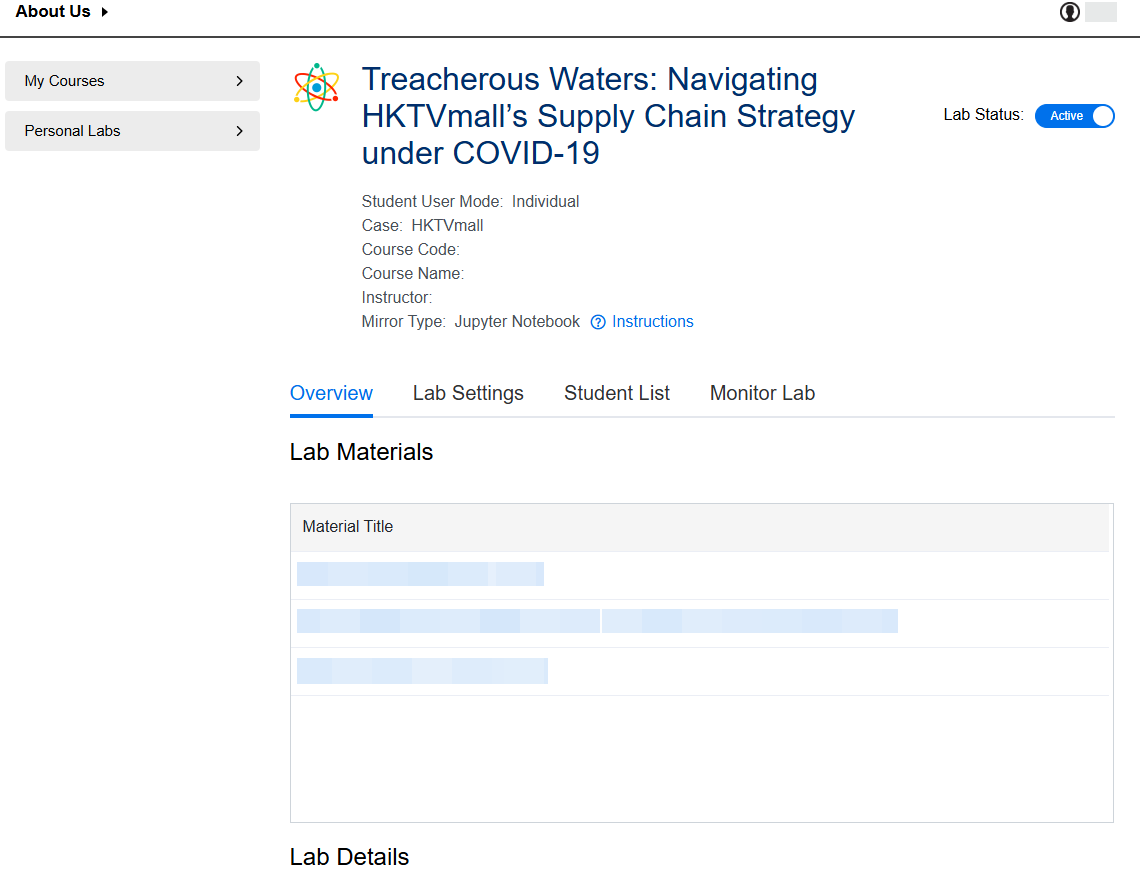
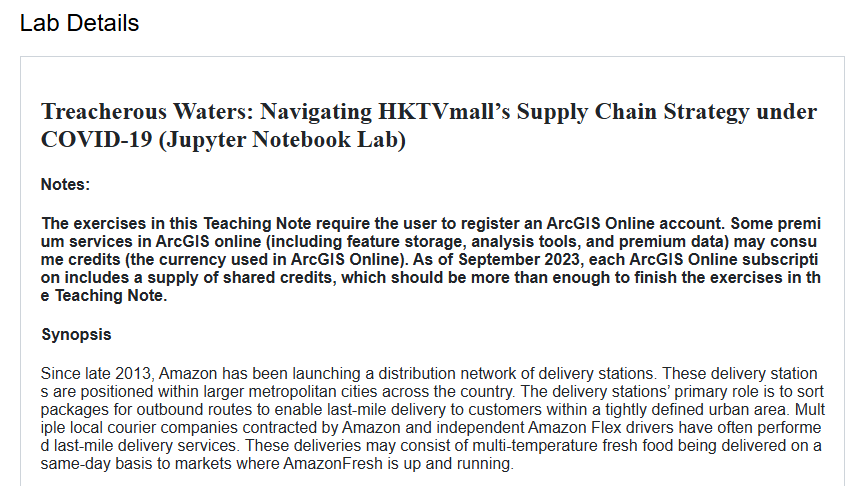
The Lab Details section previews information about the lab.